The Kodiak Bear paw Quilters hold a quilt show every year. The show is Saturday and Sunday, October 8th and 9th, at the Kodiak High School auditorium Foyer. These are my entries. The photo above is called Big Dipper. It is 21.5 x 20. This piece started out with a piece of hand dyed fabric. I had a block left over from a reduction print I made in Liz Mitchell's print workshop, with which I printed the distant mountains. I decided to extend the mountains beyond the silk border. The gradations in the border are hand dyed. I originally printed the stars with gold Lumiere paint, but they weren't as bright as I wanted, so I stitched with gold metallic thread. This is the quilt that led me to a thread crisis about a month ago. I ran out of thread with only 12" of the border left to quilt! I asked the wrong daughter to quickly send me thread!

This quilt is 15 x 20 and is called Joy. The print is an Alutiq petroglyph. She is actually the only recognizable female figure. Arms upraised signifies dancing. Although I am not Alaskan Native, she is my Goddess. The people who carved these images in the rocks many, many years ago, came to this island from someplace else and made it their home, just like I have. I was not born here, but after 35 years, I am from here.
Alaskan Sky is 21 x 12.5. This piece shows one more stage of the reduction print. The stars and the Northern Lights were printed first, then that was cut away, and the mountains were printed. I really like that the red border does not extend into the mountains, making them look more authentic. The gradations in the border are hand dyed.

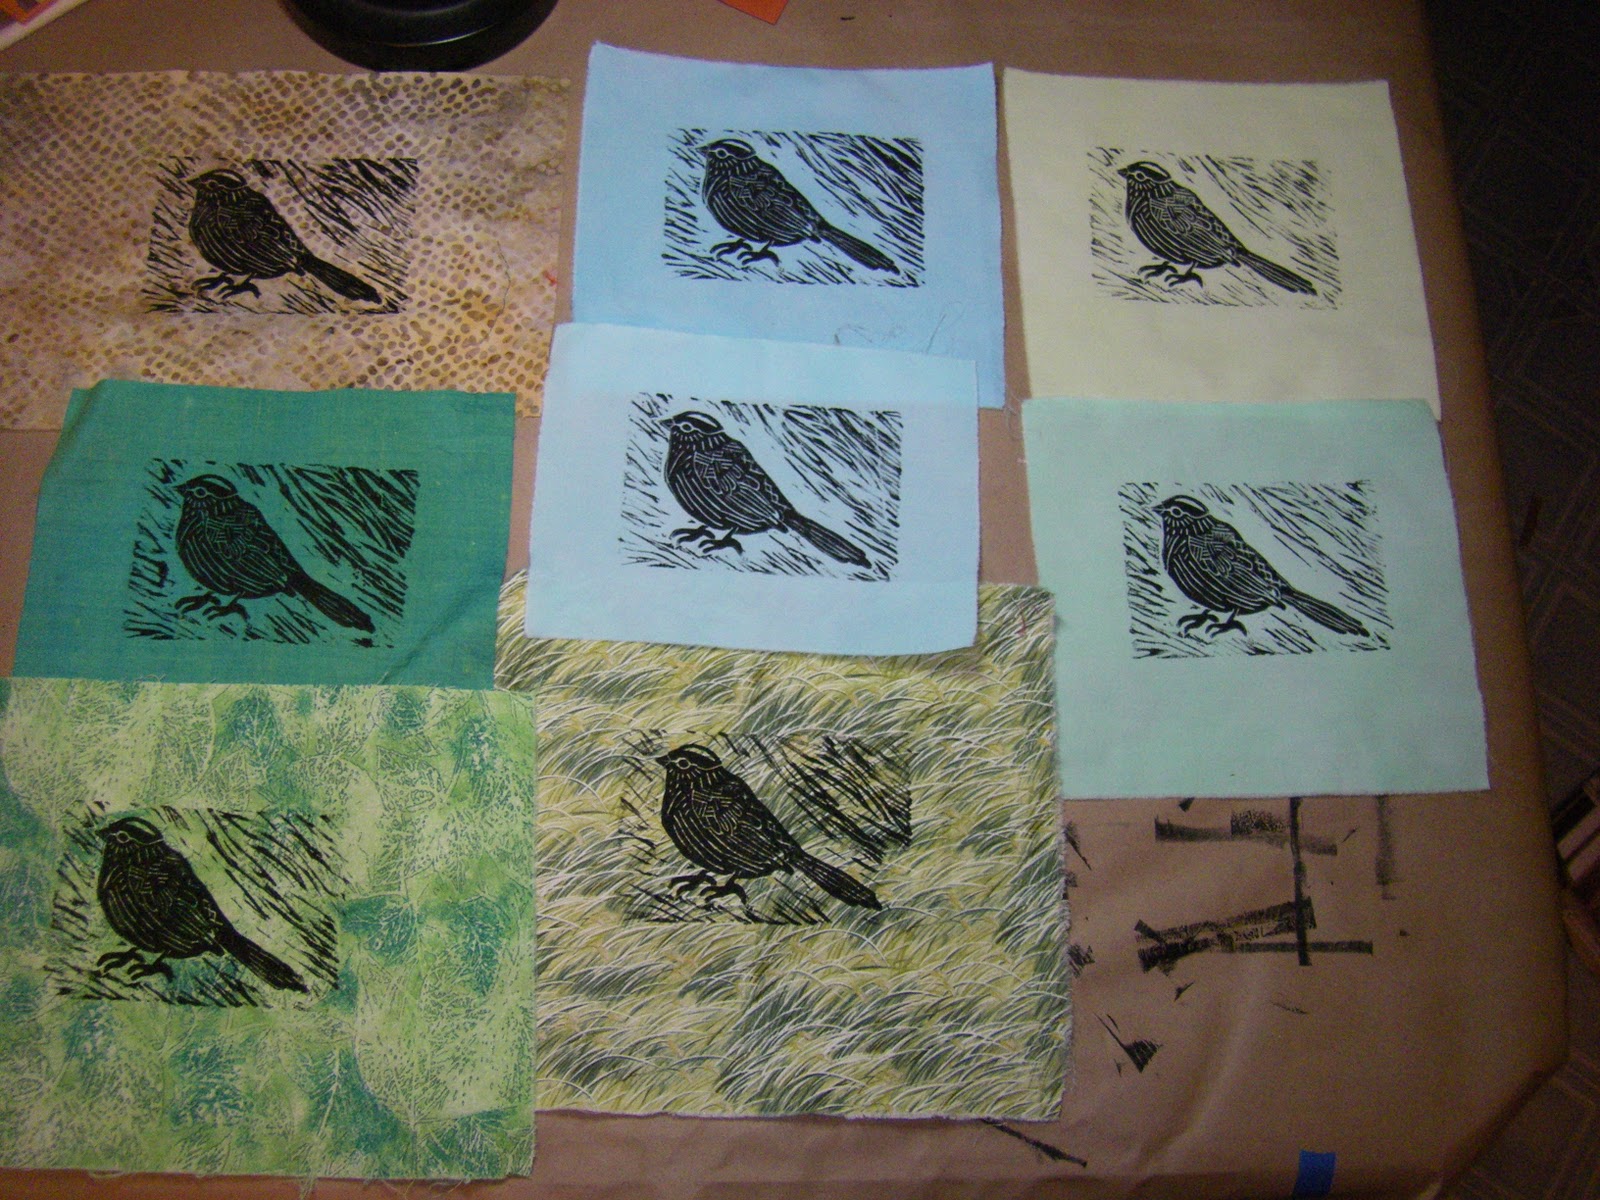
Kings is 15.5 x 20. One morning, I just decided to start cutting this print up and inserted strips thinking sea grass. I was happy with the layering effect, and though everything matched up quite well for freeform work. I don't normally do alot of hand embroidery-I am pretty much hooked on beads, but the stitching on this piece was fun and I am pleased with the results. I used 3 stands of red embroidery thread on the distant blades, and hand dyed purple Size 5 pearl cotton on the closer blades. I will not try that again-multiple layers of pimatex is not easy to pull that thick of a thread through. I used hand dyed size 12 pearl cotton to outline the starfish, which turned out great. I bought both of those thread at Visions in San Diego last Spring. Then, of course the required beads and buttons were added. I used higher contrast thread than I normally do. I have thought that my stitching gets lost when i use lower contrast thread, but I am not all that great of a stitcher. Of course, when my thread really show is when my sewing machine started misbehaving and eating the thread. I tried new needles, rethreaded, put on some thread treatment. She just was angry with me that day, I guess. Our first bad day!

A close-up of my starfish and button creatures.
Over the Mountains is 12 x 12, with a portrait quilt measuring 4 x 6. I posted about this piece several months ago. i wasn't happy with the placement of the mini quilt. I moved it around for months, then I read somewhere to leave blank space in the upper left corner, which works for me. This is my donation for the silent auction.
I have been playing with Decolorant and paint with stencils this week, as a means of procrastinating binding and hanging sleeves! I had some ugly scarves that I experimented with. I used spray decolorant on one which was a mistake-it crept under the stencil. Then I did three with plain decolorant paste. I was working on a table with batting, covered with plastic. I guess paper or cotton underneath would be better. The paste went through the scarf and seemed to just sit there on the plastic. You can't move the scarf until it is dry, also. Anyway, one of those is beautiful. Then, I used yellow Decolorant and a leaf stencil on a red scarf. That one is pretty awesome. Finally, I printed Lumiere paing with a stencil. those turned out OK, but it is hard to apply the correct amount of paint. Tomorrow, I will take some photos and post them.


And I almost forgot-my SAQA Auction quilt sold for $250. Of course, there was family politics involved-it was purchased the Aunt of my daughter, Kristin's, fiance. All the same it sold for a good price and I wasn't shamed by having it sent back like last year.